| At BIM.Solutions we pride ourselves in providing ORIGINAL content from our vast experience in the AEC industry. This is our first post on how SketchUp can be used in different industries and processes throughout design, manufacture and build. |
Over the years I have demonstrated the use of SketchUp in many industries ranging from Architectural, Interior Design, Manufacturing and Engineering. SketchUp is known as a easy-to-learn 3D modelling tool. We often get a number of inquiries regarding how we can use SketchUp to design a store layout and provide intuitive renderings.
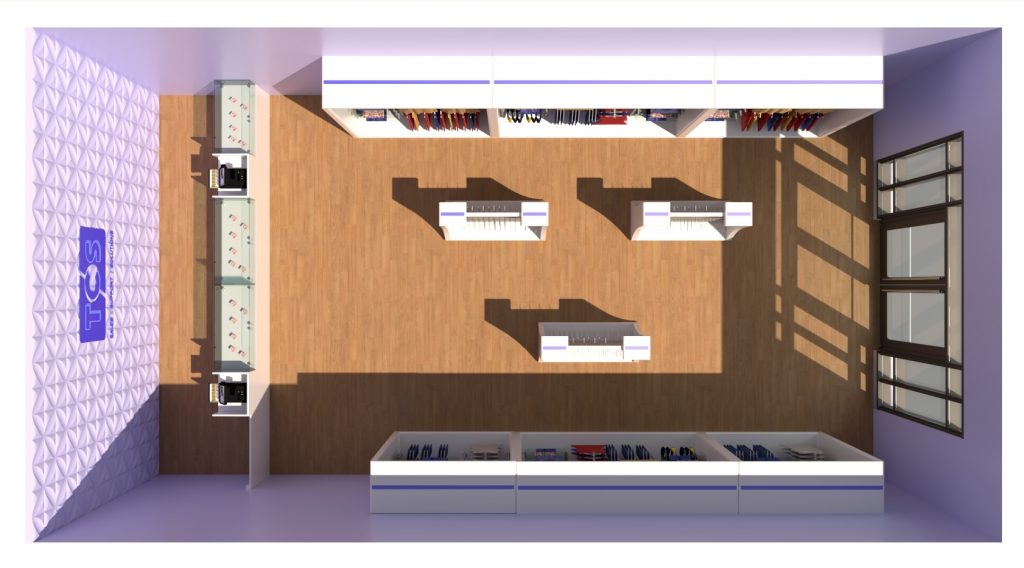
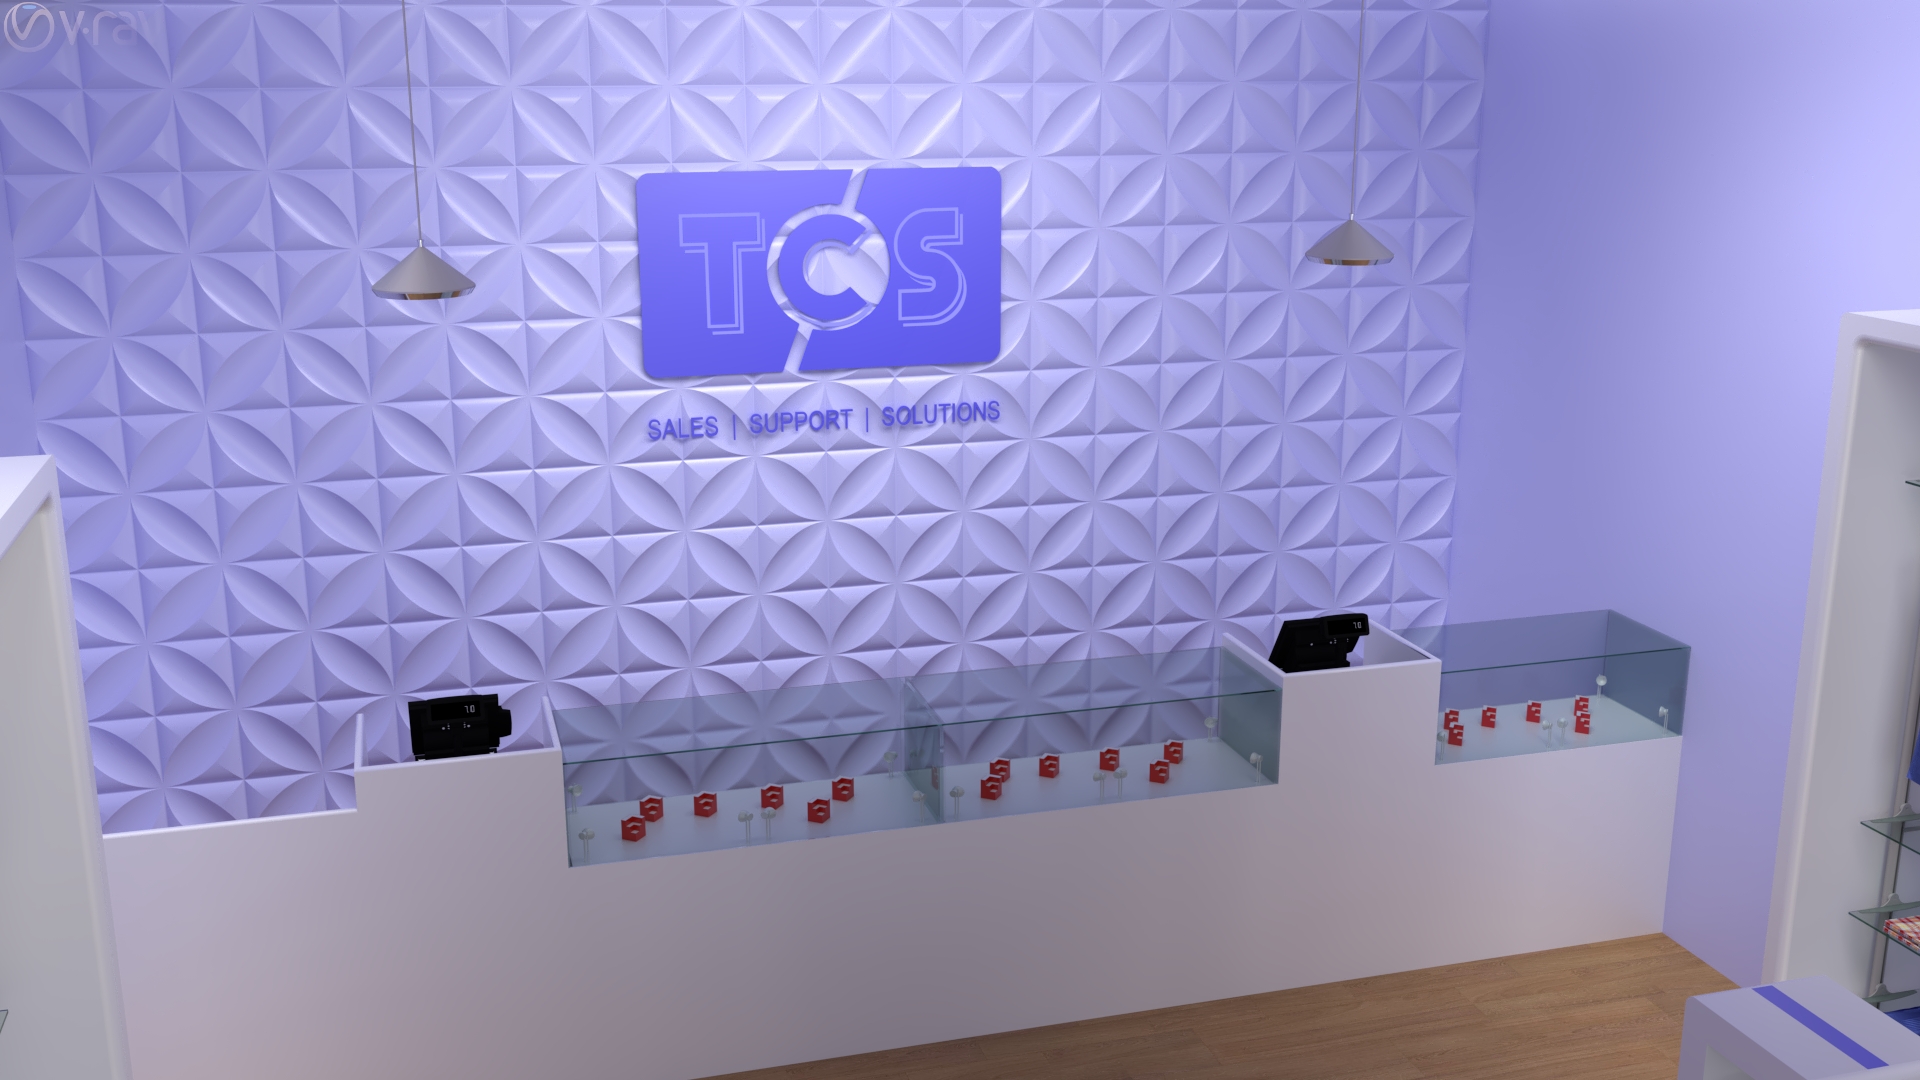
This has led me to create my own virtual TCS SketchUp model, I spend roughly 3-5 days creating model and used V-Ray for SketchUp for the render engine which is a SketchUp extension. V-Ray was chosen because for its usability and reputation for a professional render engine.
With little or no retail design expertise, SketchUp and V-Ray still allowed me to create quite impressive designs.
Design
Using Google images, I began with sizing to gather a rough idea for the store dimensions. The great thing with SketchUp Pro is that it has the DWG import function in which I was able to get a number of DWG examples into SketchUp and make the building size more appropriate with the examples.
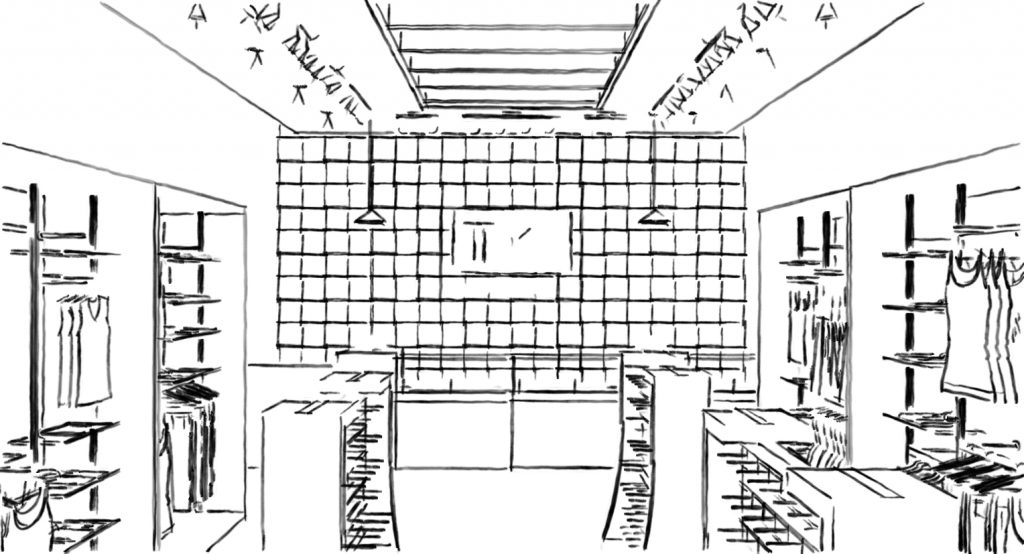
I opted for a false ceiling design with illuminated lighting around the bezel with spot lighting showcasing the units around and my own funky design in the middle.
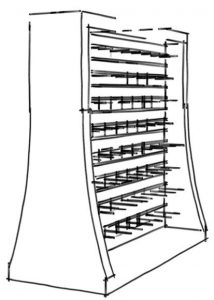
SketchUp’s 3D warehouse played a BIG part in the design development. Most of the models have been sourced through the warehouse with some exceptions such as the middle shop gondolas. From a recent visit to one of the retail stores, I saw a design in which I liked and was able to replicate and make it my own with my style.
I was fortunate enough to find all required fixtures such as slatwall, lighting, brackets, modular retail shelving and checkout counters from the 3D warehouse this saved me a lot of time modelling and with some minor tweaks I was able to make it my own.
Rendering
V-Ray for SketchUp provides designers with faster rendering, better lighting tools, and the ability to create and visualize complex scenes.
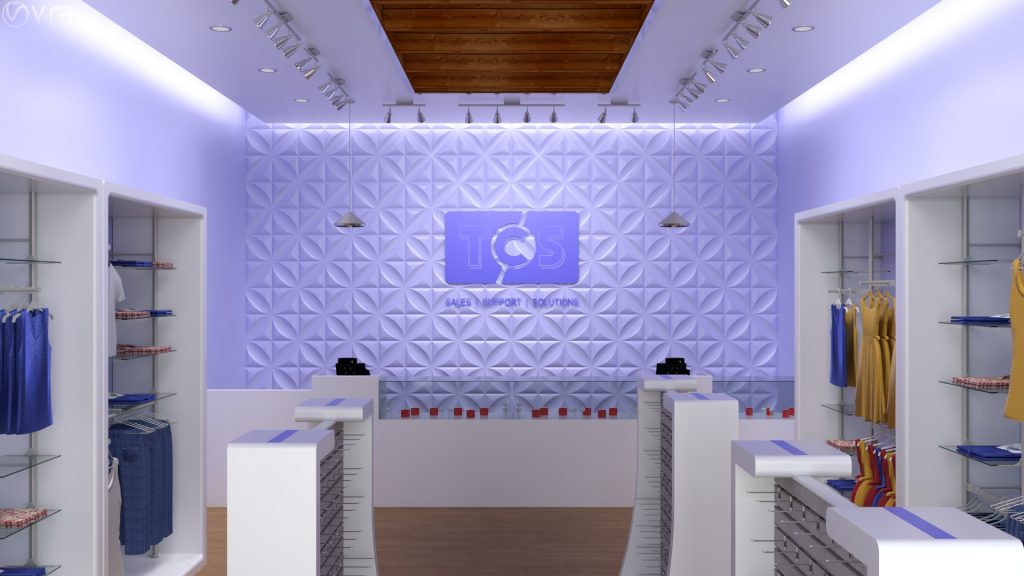
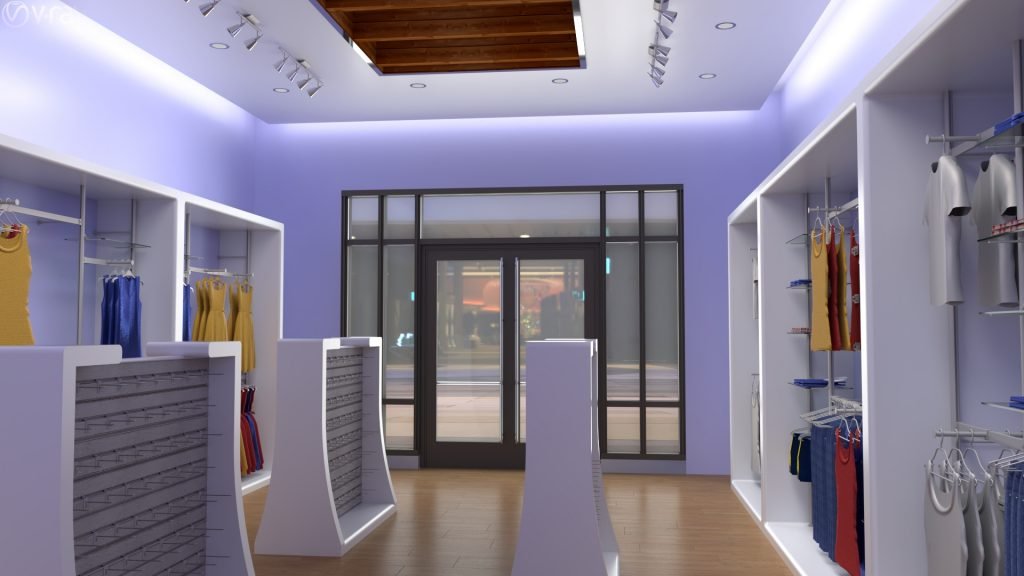
I used the in-built materials shipped with V-Ray for SketchUp for most of the components ranging from the flooring, lighting, paint and the units. The V-Ray interactive render engine also worked great with draft settings to see how materials looked and to see the placement is right.
The rendering element took most of my time I was wanted to try to achieve a realistic render of my model. I experimented with a lot of materials and textures in order to get highly authentic results.
Rendering times ranged from 5-hours for a full 1080p render – but I was able to dramatically reduce this time using V-Ray Swarm. This distributed rendering platform allowed me to join all my training workstations together to reduce to rendering times to 2-hours.
Final thoughts
The design process was relatively quick. SketchUp enabled me to explore a number of concepts before settling with the chosen model..
I would suggest that you organise components that need to be grouped if you don’t need to edit them, make components if you need to make changes and setup layers to help with optioning and improve performance of SketchUp.
V-Ray provided really impressive renders and I was amazed by the render times, even with V-Ray Swarm. Together, they are a winning combination.
The next follow up post to this would be how this model would work with a real-time render engine such a Enscape for SketchUp.



Leave a Reply